
When a new text layer is created, You can re-position the anchor point by pressing the Y key when selected. In the tool palette the pan behind tool, is particularly useful when working with 3d layers but one application of it allows you to re-position the anchor point of a layer.

When a text layer is created, in the text drop down there is an option called source text which allows us add keyframes to manipulate and edit text. The square keyframe logo represents a hold keyframe. Rather than creating multiple text layers the source text option allows us to change a text layer over time without repetition.
 By clicking the small animate button to the right hand side of the text drop down you are given a menu for adding effects to your type layer.
 I selected the position option from the menu bar, this brings up some multiple options listed under Range Selector 1. This means that you now have 2 positions properties to work with. By using the position field to change the placement on the layer, you can change the position of a layer without moving its anchor point.
The start and End options simply let you select how much of the text layer you want to work with, for example 50% would be half of my line of text. The position tool then changes the position of the layer over a period of time.

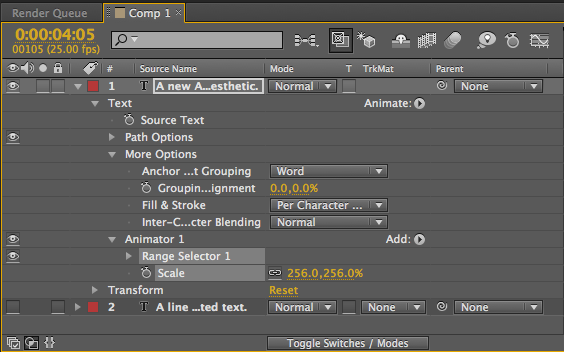
Following the same process as before I began with a new layer of text and selected the scale option from the animate drop down. Anchor point grouping allows you to differ between selecting just a word or a line and the scale increases or decreases the size of your selection.

No comments:
Post a Comment